In the previous stage, we learned how to install MO2 and got familiar with its interface. Now we will quickly go over how to download and install mods through it. Let’s go!
P.S. Why Mod Organizer 2 / MO2 specifically?
Unlike other programs, it uses a virtual file system. Your game folder stays perfectly clean, while the mods are stored separately. If something goes wrong, you simply disable the mod with a checkbox, and the game is “like new” again.
Step 1: Registering on Nexus Mods
Before downloading mods, you need to create an account on the main resource — Nexus Mods.
It is possible that Nexus Mods may not work for you. If that is the case, you can skip Step 1 and Step 2.
Click Register in the upper-right corner of the website.
Enter your email. You will receive a confirmation code — enter it on the website.
Create a username and password.
Important: The website will offer you a paid Premium subscription. It gives you higher download speed, but a free account is enough for modding.
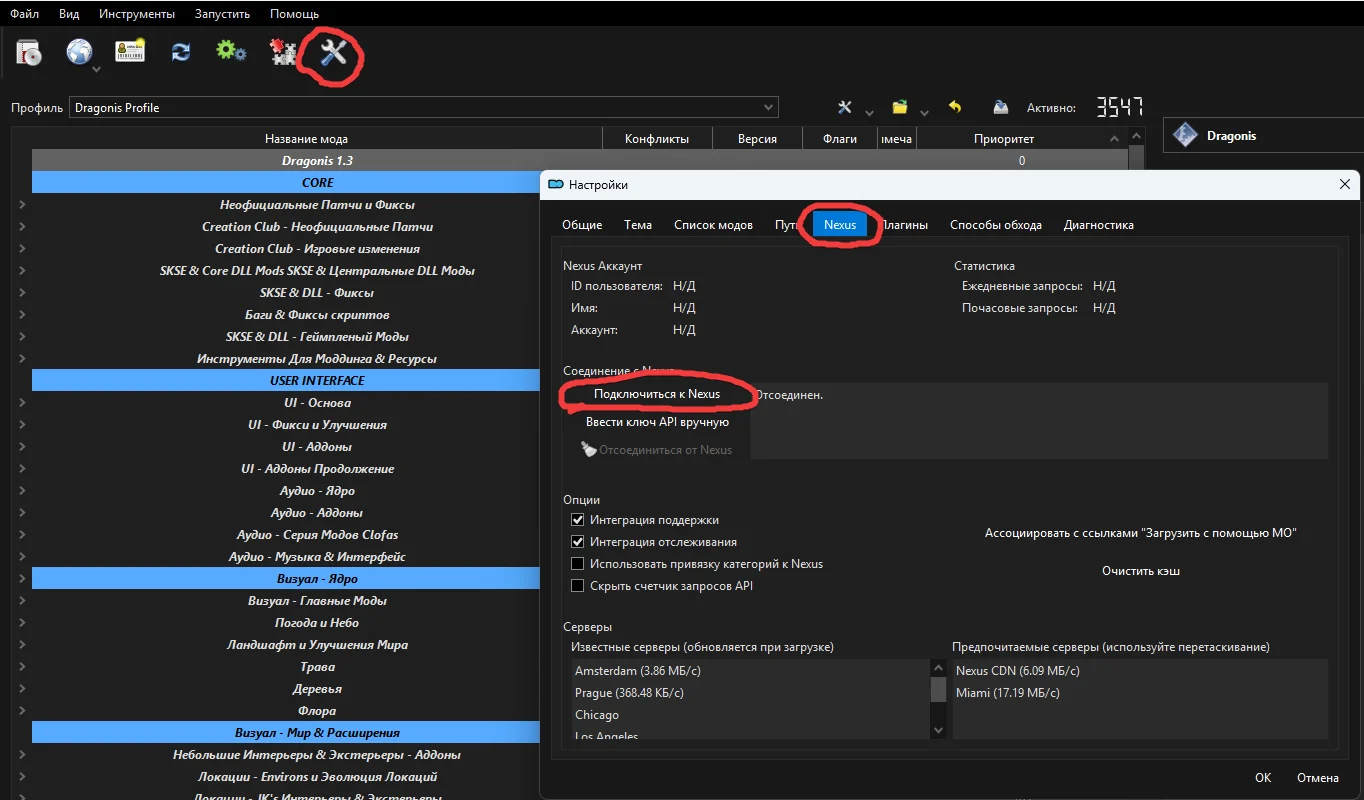
Step 2: Linking MO2 with Nexus Mods
To make mods download directly into the manager, you need to “connect” them.
Open MO2 and click the gear icon, Settings, on the top panel. Its appearance depends on your MO2 theme, so it may look different.
Go to the Nexus tab.
Click Connect to Nexus. A browser will open, where you will need to click Authorize.
Now MO2 can intercept download links directly from the website.
Step 3: Three Ways to Install Mods
Option 1: Automatic Installation
Download with Manager
The easiest and most popular method.
On the mod page on Nexus, go to the Files tab.
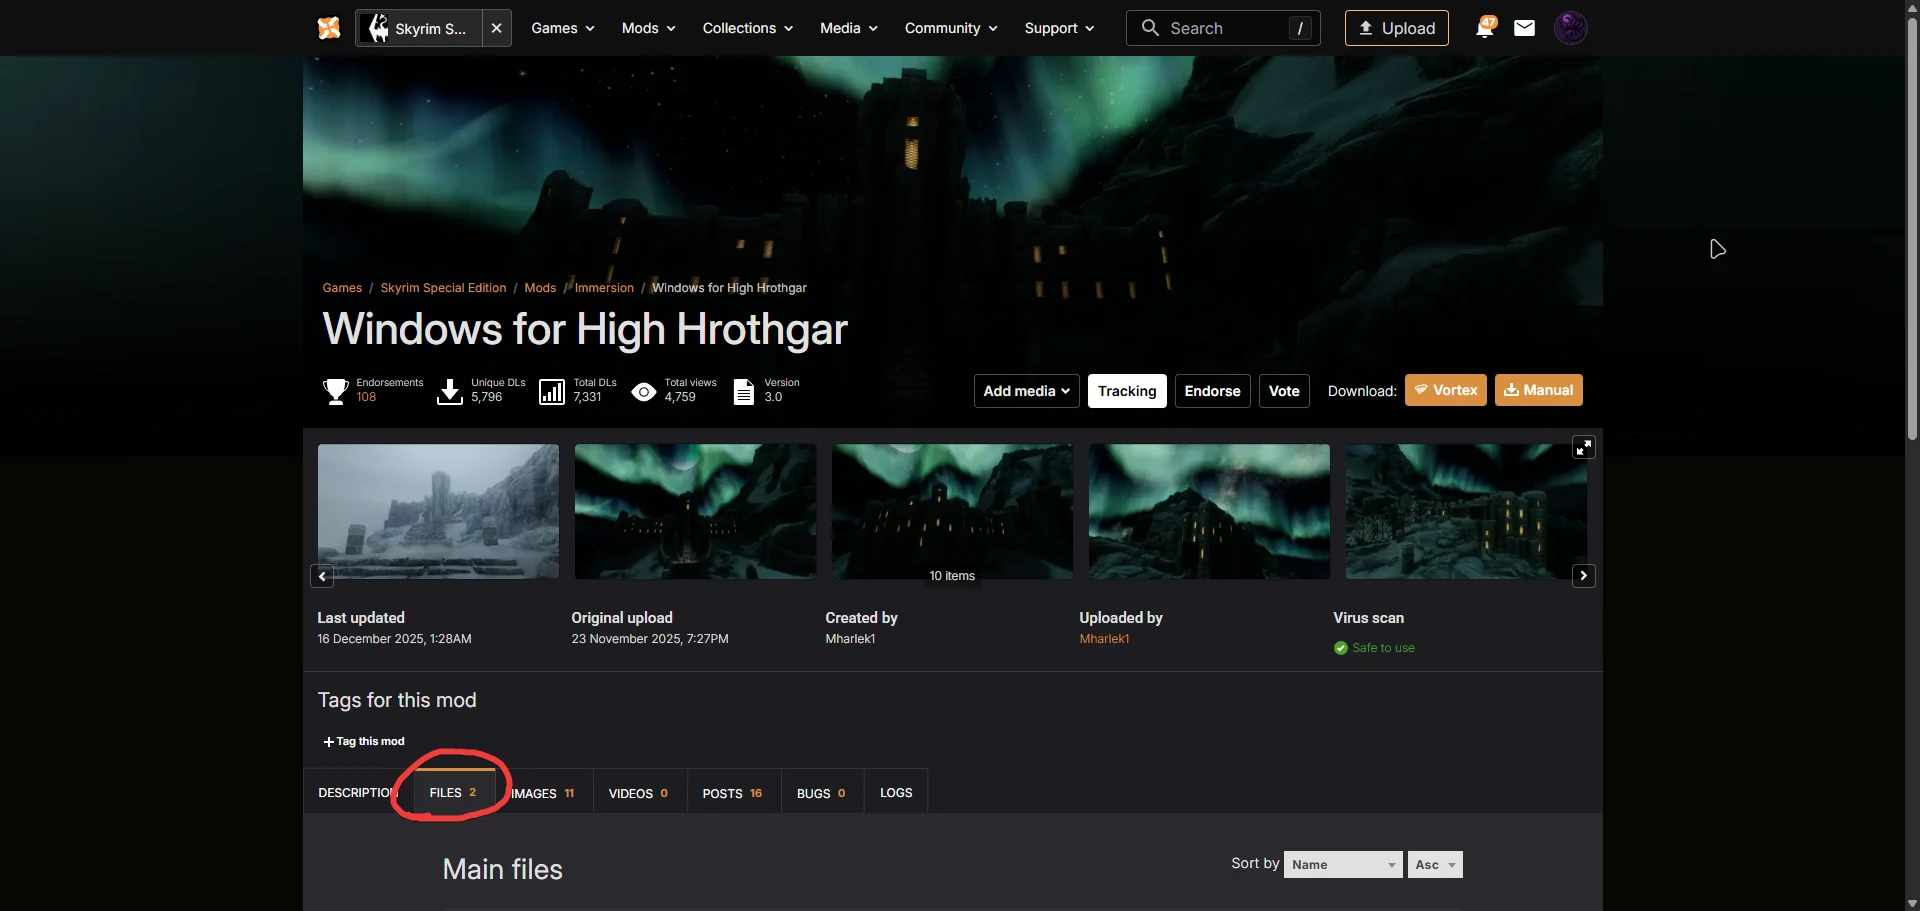
Click the Mod Manager Download button.
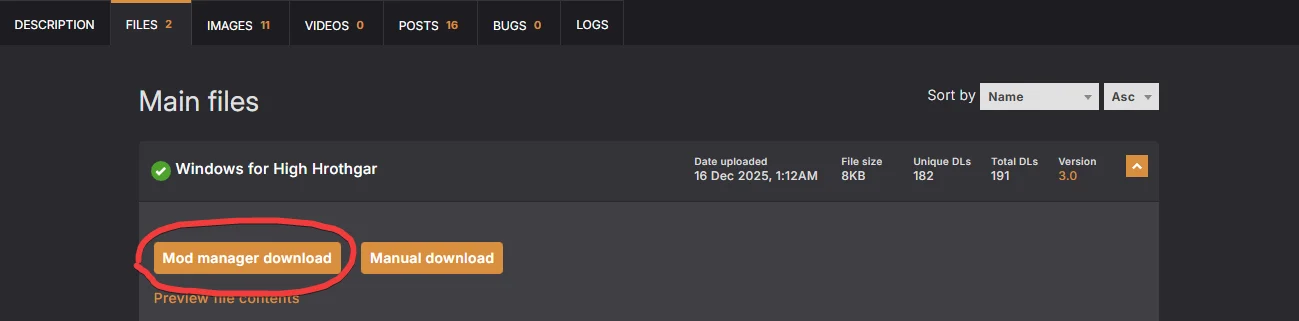
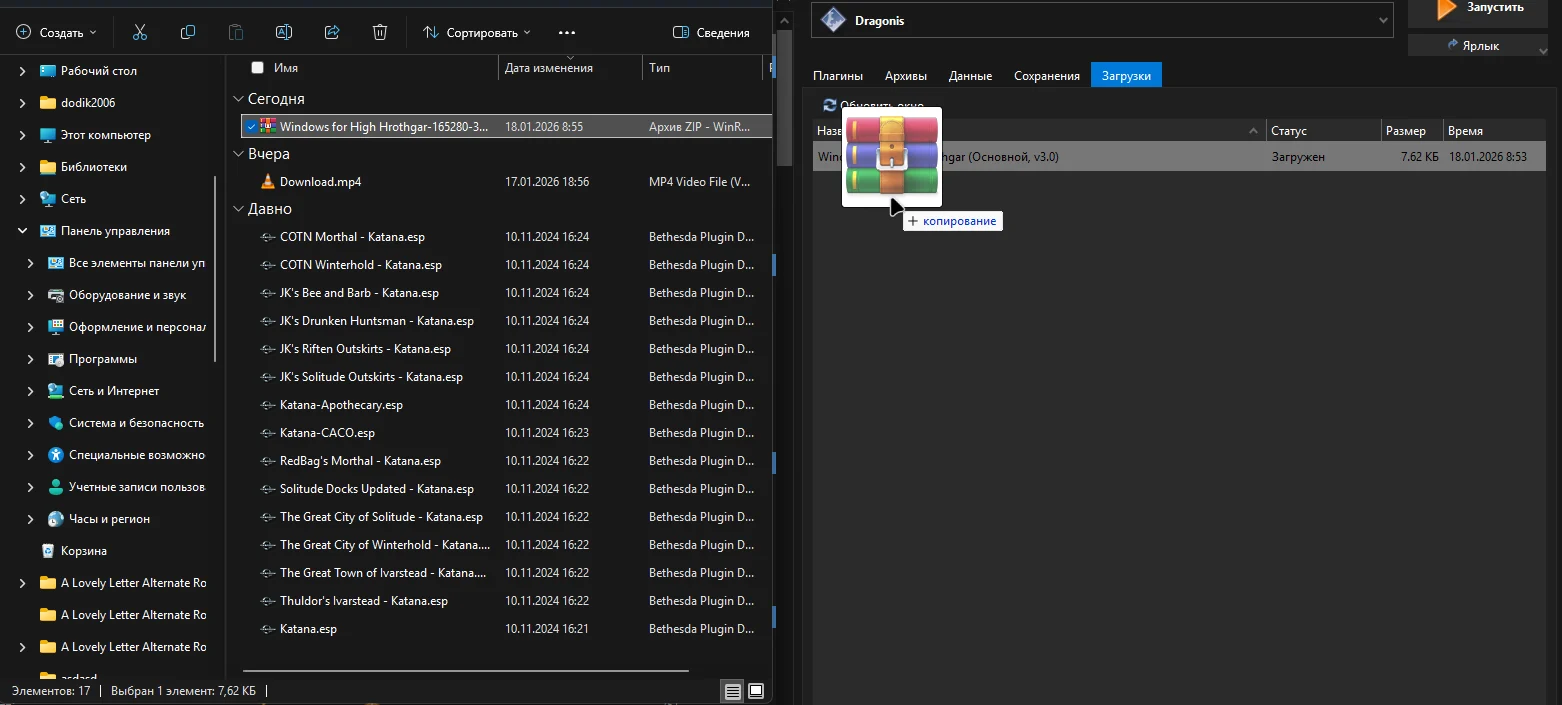
In MO2, go to the right panel and open the Downloads tab. You will see the download process there.

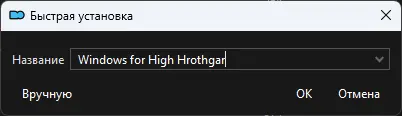
When the download is finished, simply double-click the mod name in this list to start the installation.
Option 2: Using the “Install Mod” Button
This is useful if you have already downloaded the mod archive manually.
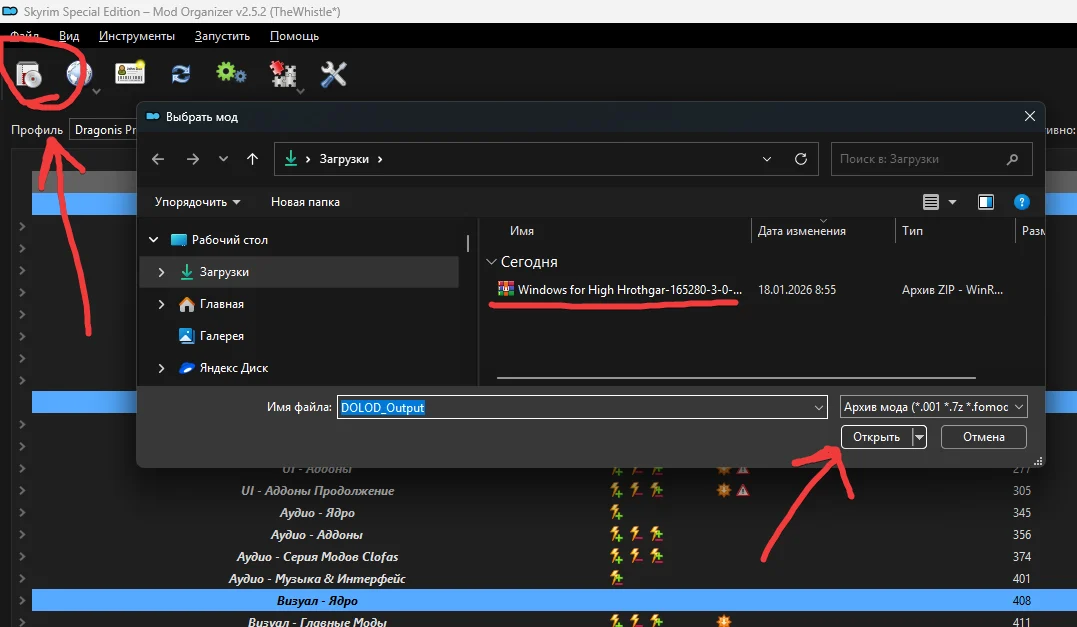
In the upper-left corner of MO2, click the first icon on the panel, the one that looks like a disk or a box.
In the window that opens, select the downloaded mod archive in
.7z,.zip, or.rarformat.Click Open. An installation window will appear, where you can set the mod name.
Option 3: Manually Dragging the Archive
Drag-and-Drop
A quick method for people who are used to working with files directly.
Simply drag the downloaded mod archive from a folder on your computer directly into the left MO2 window, where the list of all mods is located.
Or drag the archive into the Downloads tab on the right side. If you drop it into Downloads, the mod will appear in the download list, and you will need to install it by double-clicking it, just like in Option 1.
Step 4: Activating the Mod
Installing the mod is only half of the job. To make the mod appear in the game:
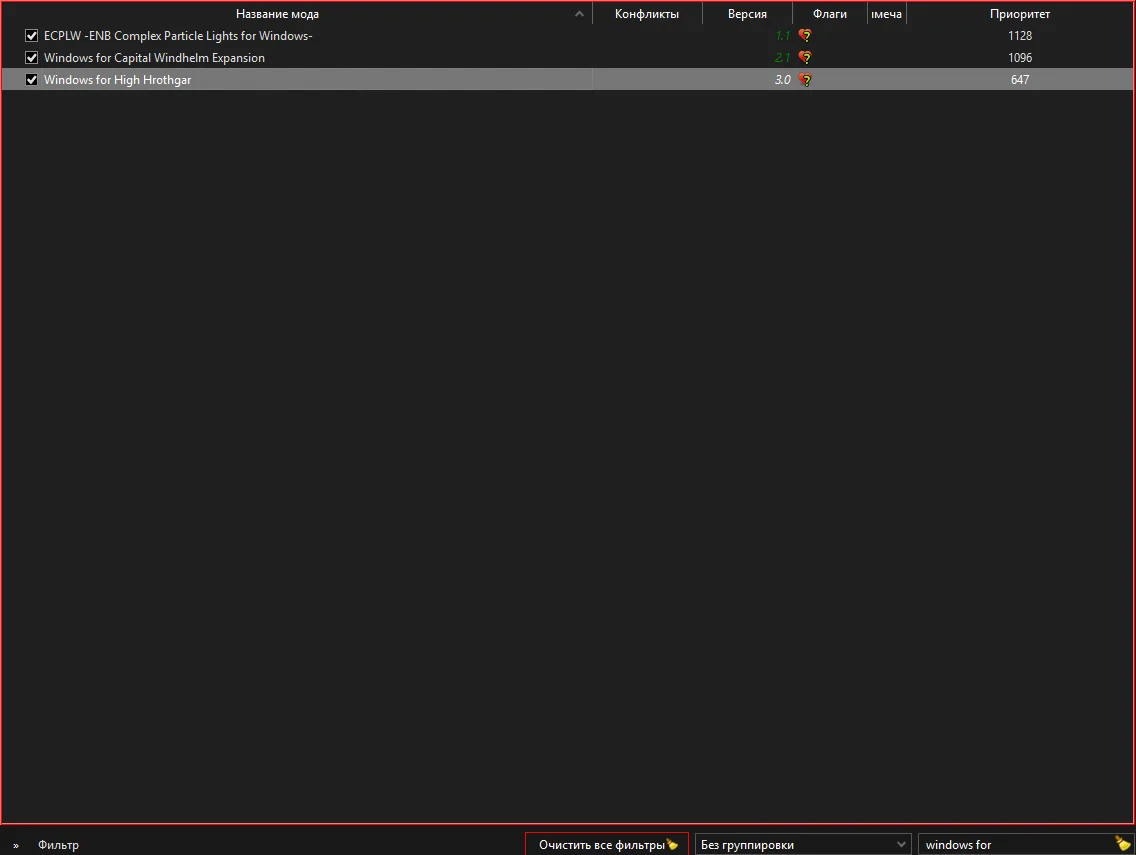
Find the installed mod in the left list.
Check the box to the left of its name.
If the mod has .esp or .esm files, they will automatically appear and be activated in the right panel, in the Plugins tab.
Tip
Yes, this approach takes time. You need to keep track of versions, read descriptions, and click the right buttons. But it is much better than discovering “broken” saves after a week of playing and then spending hours on forums trying to figure out which exact file ruined everything.
The Most Important Thing — Read the Description and Requirements!
Before clicking the Download button, always do two things:
Check the Requirements tab. On Nexus, this is a dropdown list. It shows other mods that are required for this mod to work. If SKSE or some other plugin is listed there, install it first.
Read the Description. Authors often write specific instructions there. For example: “after installation, select this option in the menu” or “this mod is incompatible with mod X”.
Remember: if you blindly install dozens or hundreds of mods, the game will either not launch or will “break” after a few hours of playthrough. Reading the description is 90% of success when building a modlist.
Use logic: if the author did not mention compatibility, think for yourself.
Example
The mod Thunderchild completely reworks the shout system.
The mod Forceful Tongue does the same thing.
Result: If you install both of them, they will conflict because they affect the same game values.
Rule: Do not install two mods that change the same thing, such as weather, trees, or combat mechanics, unless there is a special compatibility patch for them, or unless the authors state that they are compatible.
Tips
When installing a mod, I recommend clicking the Manual button.
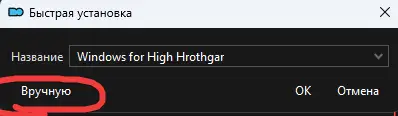
After that, a window will open where you can see exactly how the mod is being installed.
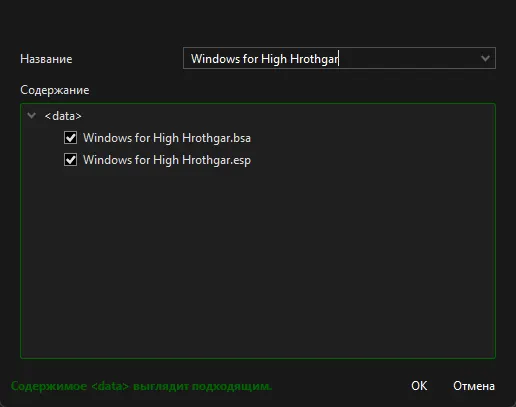
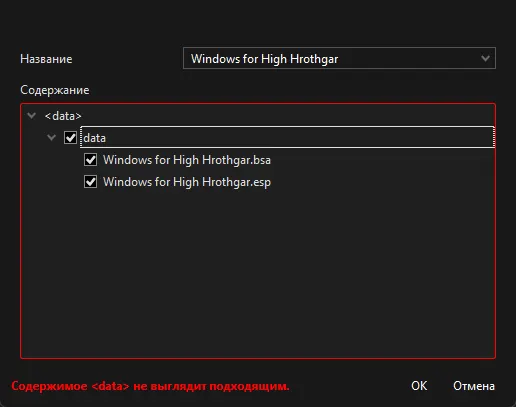
The main rule is: mods in MO2 are installed “directly” into the Data folder, so you need to check whether the files are arranged correctly.
This is correct:
And this is not correct:
You can install mods directly into the order you need. What I mean is that you can move the mod into the required category right away.

If you drag the mod as shown in the screenshot above, it will be installed exactly where you dropped it.
I used to spend a lot of time moving mods around after installing them, and this feature saved me a lot of time in the future.